Blog
-
Posted: December 05, 2020Categories: NewsRead more »
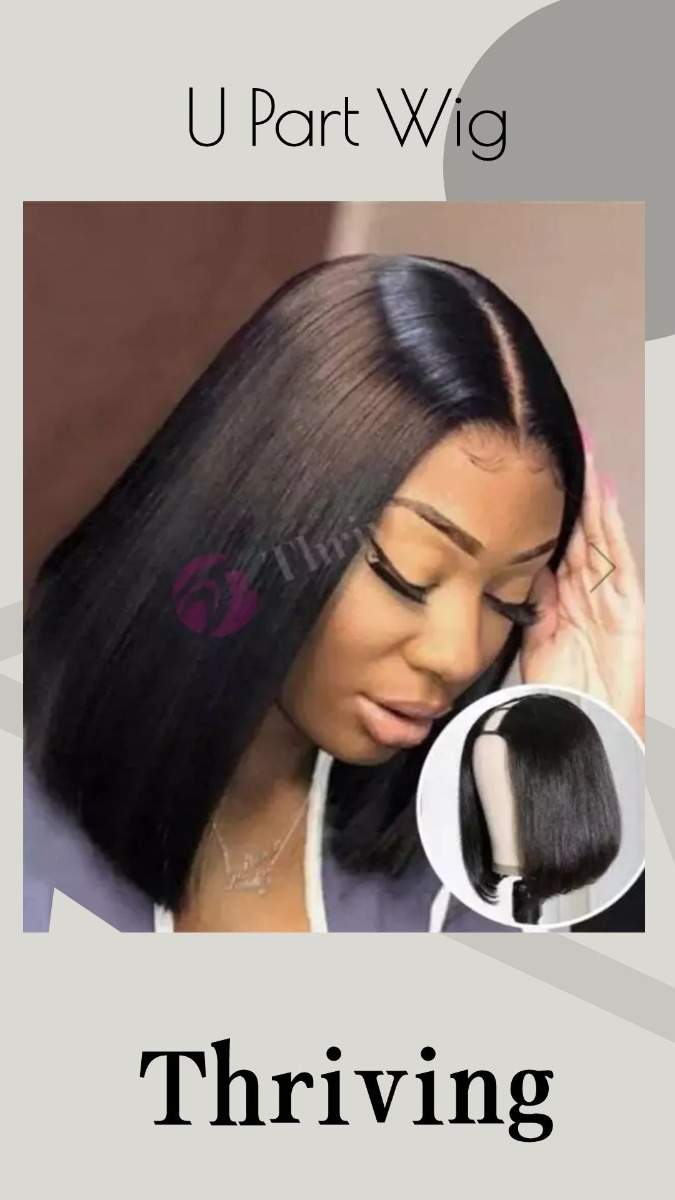
HOW TO INSTALL THE U PART WIG?

Step 1: Part your hair to make sure that you have enough leave-out to blend with the wig.
Note: Try on the u-part wig first to see how it falls, and then adjust your parting accordingly.
Step 2: Section off a bit of your natural hair around your edges (aka “baby hairs”) at the front on both sides. Then, tie the rest of your hair up into a ponytail, and pin the ponytail securely with bobby pins.
-
Read more »
WHAT IS U PART WIG?
U part wig also named u part half wig, is essentially a wig with a small hole at the top or side of the wig in the shape of a U. The hole enables you to blend and manipulate your leave out over the top of your wig or attach a closure, leaving you with a hairstyle that looks like it is growing out of your scalp! U part wigs are modified half wigs that allow you to cover their tracks with your own hair.
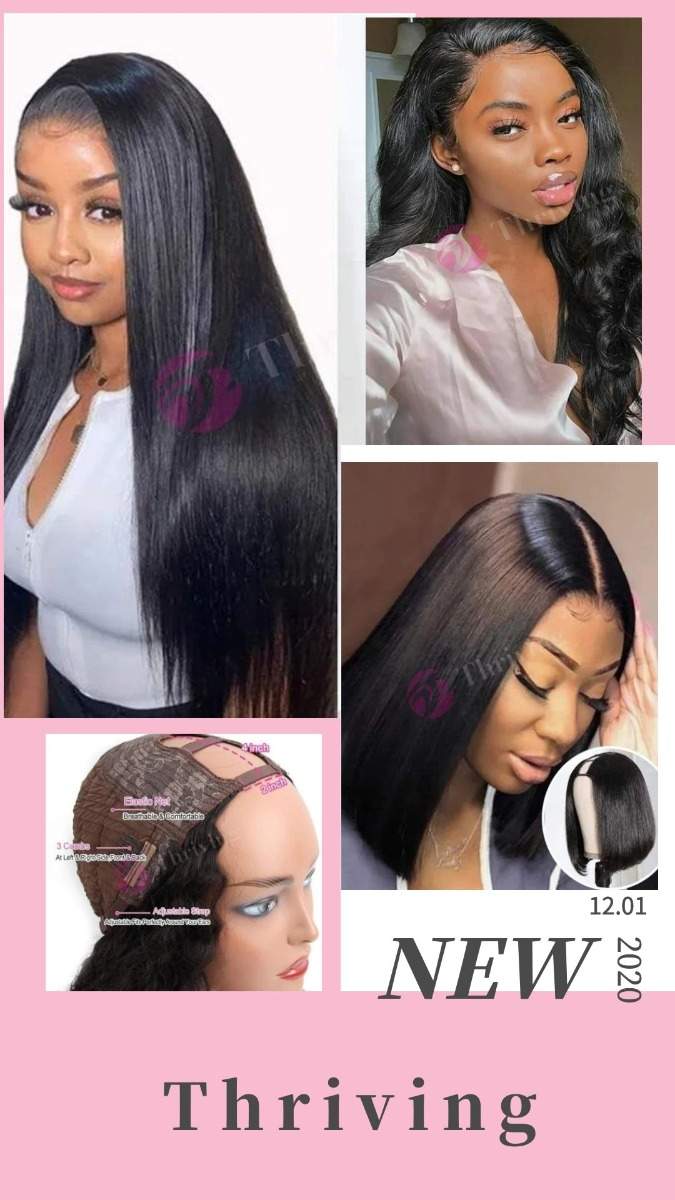
WHO NEED U PART WIGS?
1. Do you want the look and style of a sew-in weave without sitting in the salon for hours ?
2. Do you want to save
-
Posted: November 24, 2020Categories: NewsRead more »
If your hair is thinning or flatter than you would prefer, you can give it a lift by wearing a small hairpiece, such as a headband wig.
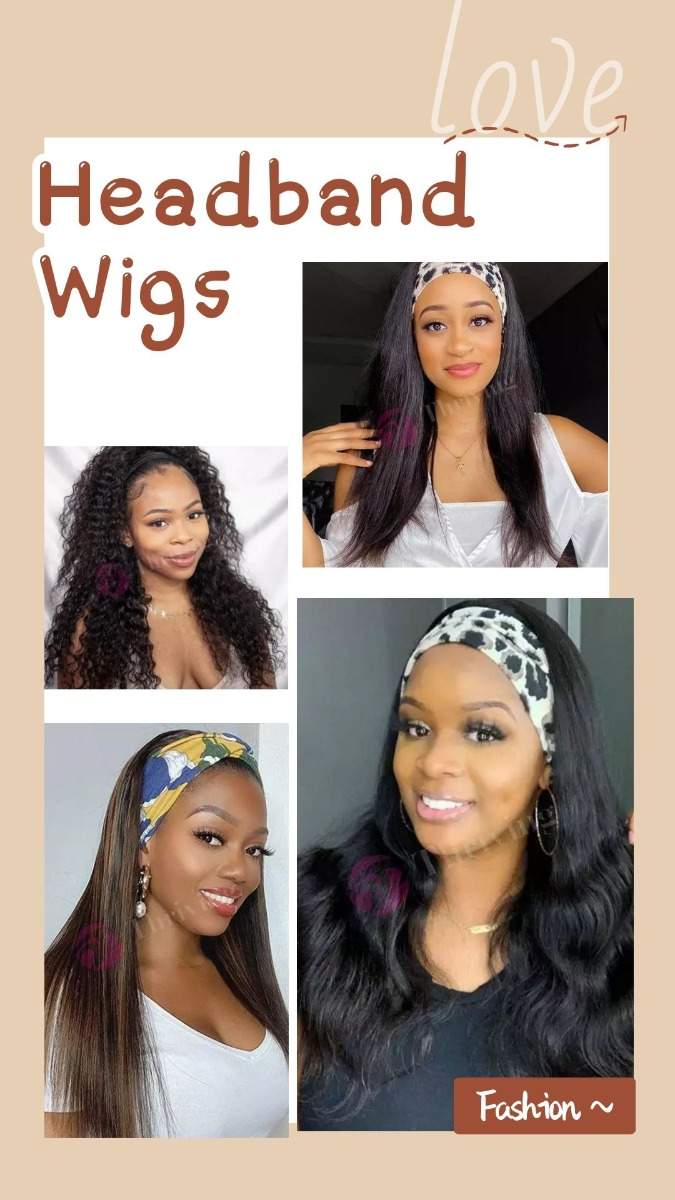
How to choose the headband wigs?
Here are the steps to follow to help you make the best wig choice for you.
1. What is your head size?
Before you consider any wig, you must determine the correct size as not all styles are made in each of the 3 major sizes. Most adults
-
Posted: November 11, 2020Categories: NewsRead more »

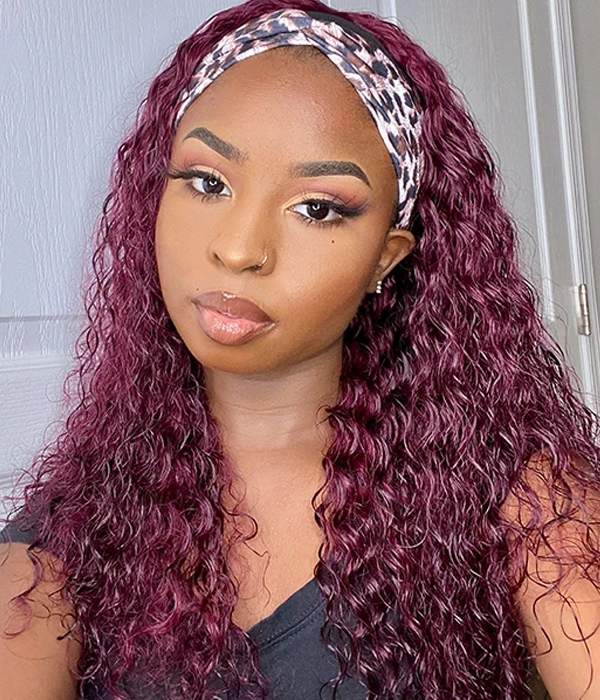
Definition: Headband wig is not strange for customers who always wear wigs. Headband wigs, just as its name implies, they are wigs with headband attached, and the hair is sewn on a soft wig cap. The special part about these wigs is that they only go on the back of your head while you style your natural hair in the front, so people also call them half wigs. Generally, there are clips and adjustable straps on the back of the cap to fix the hair. The wig headband is very soft and comfortable special design to fit the wig perfectly.
BENEFITS OF HEADBAND
-
Posted: October 22, 2020Categories: NewsRead more »
1.No Glue, No Gel, Protect your hair edges well
There is no lace for headband wigs. You don’t need to spend time on cutting lace at all, and you don’t need to apply glue on your scalp. This can prevent bad-quality glue from damaging your health and protect your skin.
2.Convenient and fast
The headband wig is very convenient. You don't need to spend time on wearing the wig. You can put it on your head directly, use any headband to fix your hair, and just adjust it. Compared to wearing a lace frontal wig, you only need to spend about ten minutes to put on the wig, while wearing a lace wig will takes 1-2 hours. Also, headband Wigs are Great Hairstyles for Beginner.
3.Light and breathable
Human hair headband wigs are very light, they are not as heavy as other wigs, but they can also cover the entire scalp. Wearing a head wig will feel as light and breathable as natural hai
-
Read more »
Step 1: Comb your hair extensions.
Before you start the shampooing process, it is of vital importance to remove any existing tangles with extreme care utilizing a wide tooth comb. If the hair is excessively tangled, please spray on some conditioner. Do not use force or much like you will experience breakage just your own hair.
Step 2: Wash your extensions gently.
Carefully rinse the hair extensions separately with warm water. Place a small amount of shampoo specifically formulated for human hair in the palm of your hand. The shampoo should be applied to the hair in a downward motion from the top of the extensions to the ends. Gently lather the shampoo until the hair is visibly clean. Rinse the hair thoroughly beneath warm water until all the shampoo
-
Read more »
If your human hair wig was dried, don’t worry, you can do that:
1. Clean it first, let it absorb some water.
2. Then use some hair conditioner. Massage for some time.
3. Rinse the conditioner off with some cold water.
4. Then add some hair conditioner again.
5. Let sit for 30mins.
6. Rinse off it with cold water.
7. Let it drying with natural air.
8. Last, use some hair essential oil.
9. Comb your human hair wig, you can find it’s very shiny.
-
Posted: June 20, 2020Categories: NewsRead more »
Wigs are extremely popular because they can instantly change one's appearance and offers a great deal of flexibility when it comes to hairstyle, color, and length. Many women are tending to purchase human hair weave bundles with closure to create beautiful wig if you are beginner, now it comes to the question "How to make a wig with lace closure and bundles"? Today, I will share a very detailed tutorial from start to finish about how to make a wig.
How To Make A Wig Step By Step?
Step 1: Secure your wig head on the table with tape or on a wig stand. You need to make sure it is stable before you get to making your wig, so as to make the process easier for you.
Step 2: Place wig cap on the mannequin head. Figure out where the front and back of your future wig are going to be.
Step 3: Prepare your hair weaves. Before you sew them onto the cap, measure them. You can pin them down to see how many tracks you
-
Posted: June 13, 2020Categories: NewsRead more »
Wig adhesive, or wig glue, is a bonding agent that stylists use to adhere a wig or other type of hairpiece to the head. While the adhesive can help you achieve a more natural looking style, there are some side effects to using it. Learn about these side effects so that you can mitigate them appropriately.
Types of Wig Adhesives
There are several types of wig adhesives. Wig glue also comes in different colors and is comparable to the consistency of school glue. There are adhesive strips which act like double-sided tape and can be used to attach the wigs. Different types of wig adhesive will produce varying lengths of durability. A liquid adhesive will hold for approximately four to six weeks; the adhesive strips will hold for two to three weeks. Which type of adhesive you use will depend on your lifestyle and personal preference.
What's In It?
Wig adhesive, either
-
Posted: May 30, 2020Categories: NewsRead more »
The popularity of the full lace front wig is continuing to grow, thanks to Tyra Banks and Beyonce, whose hair always looks flawless. The full lace wig is specially hand crafted to make it appear that the hair is growing right out of your scalp. There are a few different ways to apply a full lace wig, but the most common and longest lasting method is to sew it in.
Braid your hair in corn rows going straight back. If you have long hair past the nape hairline, lift the braids upward and lay them in between the corn rows and sew the braids together.
Wipe your forehead at the hairline with rubbing alcohol to remove dirt and oil. This is where the lace will lay once the wig is on your head. Apply the scalp protector to the front hairline and let it dry.
Apply the hair adhesive to the hairline, being especially